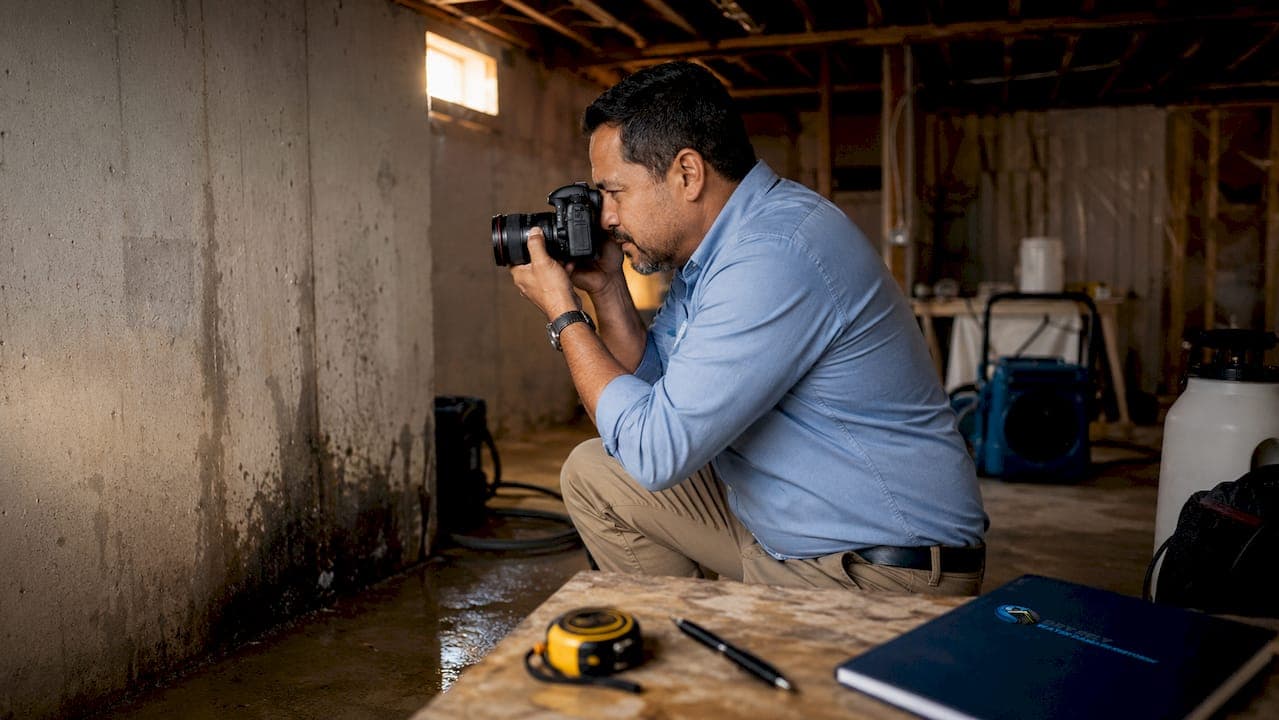
Water damage documentation is the systematic process of capturing photographic, video, and written evidence of all damage before any cleanup or repair begins. Skipping this step is the single most common reason insurance claims get denied or underpaid. To document water damage for restoration and insurance purposes, you need to record the source, the migration path, and every affected surface before a single item is moved. Dry Rely Water Damage Restoration has helped restore over 15,000 properties across South Florida, and the pattern is consistent: homeowners who document thoroughly get faster approvals and fewer disputes. This guide gives you the exact steps, tools, and techniques to build a claim-ready record from the moment you discover the damage.
What tools do you need to document water damage?
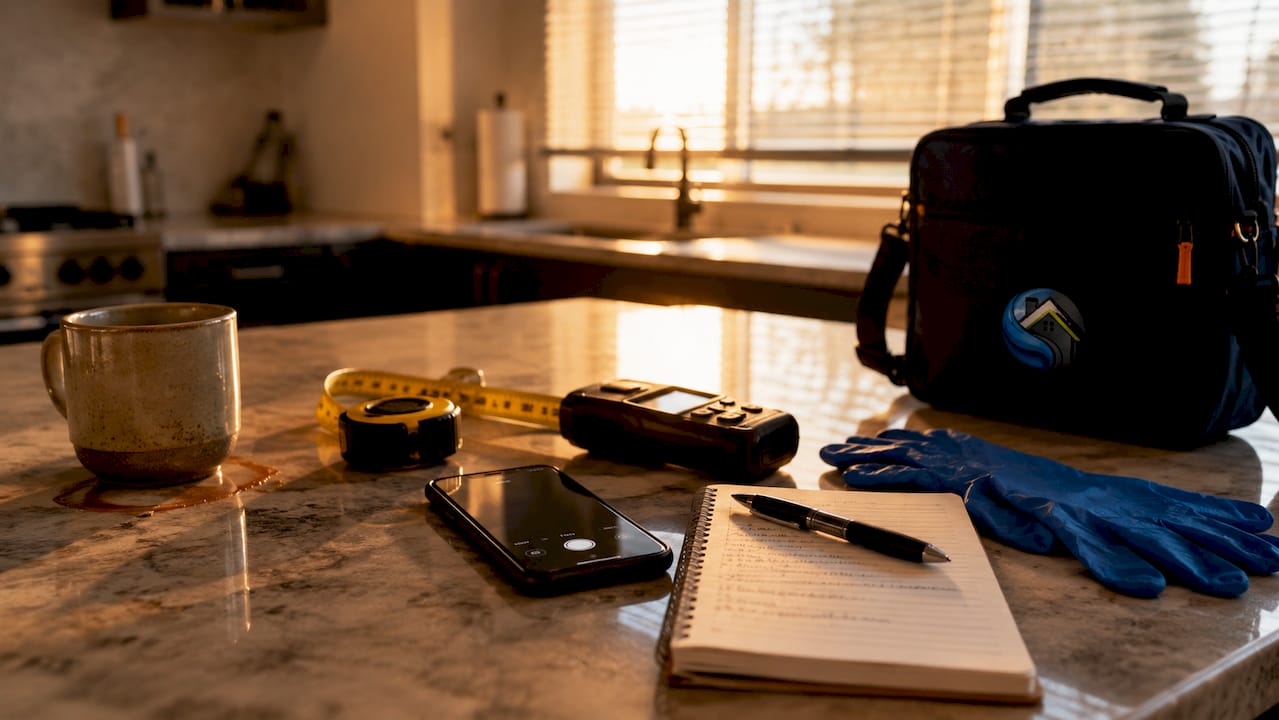
The right tools make the difference between a strong claim and a disputed one. You do not need professional equipment. You need the right combination of everyday items used in a specific way.
Essential documentation tools:
- Smartphone or digital camera: Use the highest resolution setting available. Blurry or dark photos give adjusters a reason to question the extent of damage.
- Tape measure or ruler: Include a ruler or tape measure in your photos to give insurers a clear scale reference for water depth and damage size. A coin or pen works in a pinch.
- Notepad or digital log app: Write down the time you discovered the damage, every call you make, and every action you take. Timestamps matter.
- Video recording device: Your phone works. A narrated walkthrough video captures context that still photos miss entirely.
- Protective gear: Wear rubber gloves and waterproof boots before entering any flooded area. Standing water can carry contaminants or electrical hazards.
- Waterproof bags or sealed containers: Use these to preserve damaged documents and paper records before handing them to restoration professionals.
| Tool | Purpose |
|---|---|
| Smartphone or camera | Capture high-resolution photos and video |
| Tape measure or ruler | Provide scale reference in photos |
| Notepad or log app | Record timeline, calls, and actions |
| Protective gear | Keep you safe in contaminated areas |
| Waterproof bags | Preserve damaged paper documents |
Pro Tip: Turn on your phone's location and timestamp features before you start shooting. Geotagged, time-stamped photos are harder for insurers to dispute.
Step-by-step guide to documenting water damage before cleanup
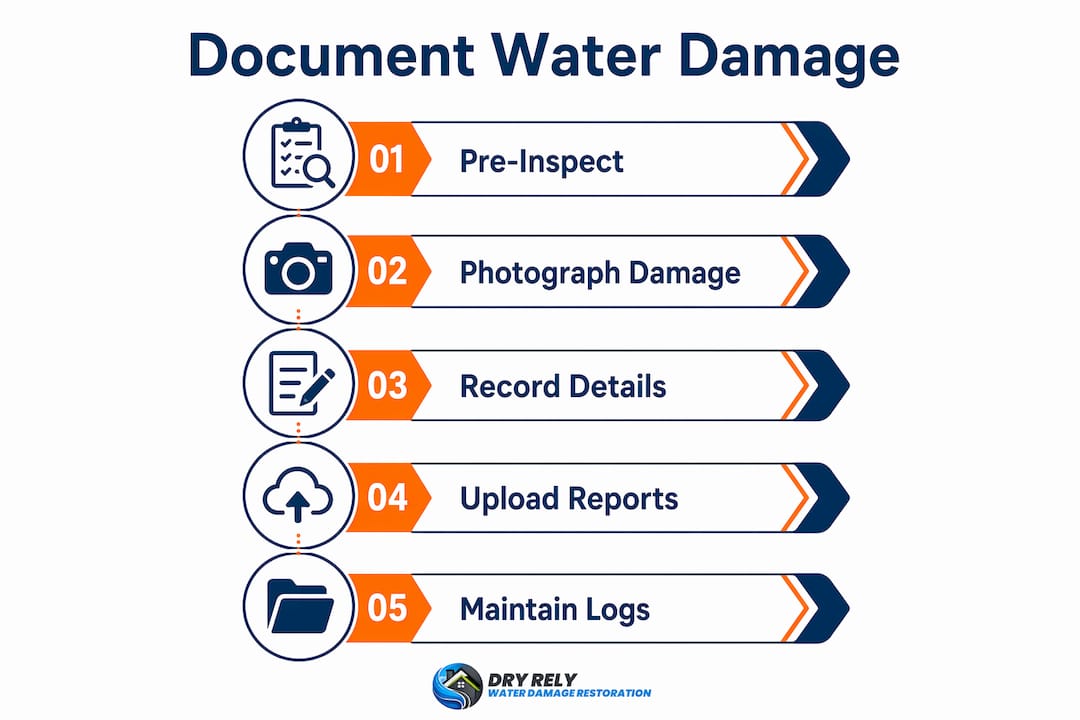
Pre-cleanup images are the most valuable evidence an insurance adjuster will ever see. They establish severity and cause before anything is disturbed. Follow these steps in order, and do not skip ahead to cleaning.
-
Stop the source if it is safe to do so. Turn off the main water supply or isolate the leak. Do not enter a room with standing water if electrical outlets or appliances are submerged.
-
Photograph the source of water intrusion first. This is the origin point: a burst pipe, a leaking roof, an overflowing appliance. Capture it from multiple angles before anything is touched.
-
Shoot wide-angle photos of every affected room. Stand in each doorway and photograph the full room. Capture 20–30 photographs per room to meet the standard that insurance documentation professionals recommend.
-
Take close-up shots of specific damage. Photograph waterlines on walls, buckled flooring, saturated baseboards, stained ceilings, and any furniture or personal property affected. Get within 12 inches for detail shots.
-
Place a ruler or tape measure in your photos. Lay it next to water lines or damaged areas. This gives adjusters a concrete measurement to validate the extent of loss.
-
Record a narrated video walkthrough. Walk through every affected room while speaking aloud. State the date, time, and what you are seeing. Describe the water source, the path it traveled, and every surface it touched.
-
Photograph the water migration path. Water moves. It travels from the source through walls, under floors, and into adjacent rooms. Document every room the water reached, not just the room where it started.
-
Start your written log immediately. Write down the exact time you discovered the damage, the time you called your insurer, and every conversation you have. Written logs and narrated walkthroughs create verifiable timelines that reduce claim disputes and delays.
-
Preserve damaged materials. Do not throw away wet carpet, flooring samples, or broken fixtures. Adjusters may need to inspect them. Place them in a dry area or photograph them in place before removal.
-
Back up all files immediately. Upload photos and videos to cloud storage right away. A phone that gets wet or lost during cleanup can erase your entire evidence record.
Pro Tip: Avoid moving furniture or starting any cleanup before you finish documenting. Cleaning before documentation destroys key evidence and gives insurers grounds to reduce or deny your claim.
How do you document water-damaged documents and papers?
Water-damaged paper records require a different approach than photographing structural damage. The recovery window is short and the handling rules are strict.
Mold colonization and permanent deterioration begin within 24–48 hours of water exposure. That 48-hour window defines how urgently you need to act on paper documents. Once mold sets in or pages bond together, professional recovery becomes far more difficult.
What to do with water-damaged documents:
- Photograph and list every document separately before touching it. Create a written inventory that includes the document type, condition, and location where it was found.
- Do not attempt to air-dry important documents yourself. Improper drying causes pages to warp, ink to bleed, and paper to bond permanently. This is especially true for legal records, financial documents, and irreplaceable personal papers.
- Place wet documents in sealed waterproof bags and keep them cool. This slows deterioration until a professional can assess them.
- Contact a document recovery specialist immediately. Blast freezing stabilizes water-damaged documents by halting biological decay and preventing pages from bonding. Freeze-drying then converts ice directly to vapor, preserving paper and ink without the damage that conventional drying causes.
- Separate critical documents from general paper waste. Prioritize passports, deeds, insurance policies, medical records, and financial statements. These require professional handling first.
Pro Tip: If you cannot reach a document recovery professional within a few hours, place wet documents in a frost-free freezer. Freezing buys time and prevents mold growth until professional drying can begin.
How to maintain documentation throughout the restoration process
Documentation does not stop when the restoration crew arrives. Ongoing records protect you through every phase of mitigation and repair.
Daily logs of equipment on-site and restoration progress are what substantiate drying and repair expenses when your insurer reviews the final bill. Without them, contractors and homeowners often face disputes over what work was actually done.
What to document during restoration:
- Photograph equipment counts each day. Count and photograph every air mover and dehumidifier on-site. Record the make, model, and placement location in your written log.
- Document all removal work. When contractors cut drywall (called flood cuts), remove flooring, or tear out insulation, photograph the work before and after. These are major line items on your claim.
- Record moisture readings. Ask your restoration technician for daily moisture meter readings. Log the numbers and the locations tested. These readings prove the drying process was necessary and complete.
- Keep a communication log. Write down every call with your insurer, every email, and every visit from an adjuster. Note the name of the person you spoke with and what was agreed.
- Request a final dry standard report. A certified restoration company will provide a written report confirming that all affected materials have reached acceptable moisture levels. This document closes out your claim cleanly.
| Documentation phase | What to record |
|---|---|
| Day of discovery | Photos, video, written log, source and migration path |
| During mitigation | Equipment counts, flood cuts, moisture readings |
| During repairs | Before and after photos of each repair area |
| Claim closure | Final dry standard report, all communication logs |
A complete water damage assessment guide covers structural concerns that surface days after the initial event. Tracking those findings in your log strengthens the overall claim record.
Key Takeaways
Thorough water damage documentation, completed before cleanup begins, is the single most effective way to protect your insurance claim and speed up restoration.
| Point | Details |
|---|---|
| Document before cleanup | Pre-cleanup photos and video are the strongest evidence an adjuster will review. |
| Shoot 20–30 photos per room | Industry guidance recommends this volume to cover all angles and damage types. |
| Act within 48 hours on paper records | Mold and permanent deterioration begin within 48 hours of water exposure to documents. |
| Keep daily restoration logs | Log equipment, moisture readings, and communications throughout every phase of repair. |
| Back up all files immediately | Upload photos and video to cloud storage before any cleanup work starts. |
What most homeowners get wrong about water damage documentation
After working with thousands of South Florida homeowners, the Dry Rely Water Damage Restoration team sees the same mistakes repeated. The most costly one is starting cleanup before picking up a camera. Homeowners feel the urgency to act, and that instinct is understandable. But moving wet furniture or pulling up soaked carpet before documenting it removes the evidence an adjuster needs to approve your claim.
The second most overlooked piece of evidence is the water migration path. Homeowners photograph the obvious damage in the flooded room and stop there. Water travels. It moves under walls, into adjacent closets, and down into subfloor cavities. If you only document the room where the pipe burst, you leave out evidence of damage that may cost thousands to repair.
Written logs are underused and undervalued. Photos show what happened. A written log with timestamps shows when it happened, who you called, and what was agreed. That combination is what prevents a claim dispute from dragging on for months. The 10-step documentation process we recommend covers both visual and written evidence in the right sequence.
The homeowners who get the best outcomes are the ones who treat documentation like a job. They work through every room methodically, they back up their files, and they call a certified restoration company before making any decisions about cleanup. Dry Rely Water Damage Restoration can be on-site within 60 minutes to help you document, assess, and begin mitigation before evidence is lost.
— Dry Rely Water Damage Restoration
Dry Rely Water Damage Restoration: professional documentation and recovery support
When water damage hits your property, having a certified team document and assess the damage alongside you changes the outcome.
Dry Rely Water Damage Restoration provides detailed damage assessments, photographic reporting, and written documentation that meets insurance adjuster standards. The team uses thermal imaging to locate hidden moisture that a camera alone cannot detect, which means your claim captures damage that would otherwise go unnoticed until mold appears. For paper records and critical documents, Dry Rely connects homeowners with professional document recovery services that use blast freezing and freeze-drying to maximize recovery rates. With 24/7 emergency response across South Florida and technicians on-site within 60 minutes, Dry Rely handles the documentation and the restoration so you can focus on your family and your claim.
FAQ
What is the first step to document water damage?
Photograph the source of water intrusion before touching or moving anything. Pre-cleanup images establish cause and severity and are the most valuable evidence an insurance adjuster will review.
How many photos should I take for a water damage insurance claim?
Industry professionals recommend 20–30 photographs per affected room. Capture wide-angle shots from doorways, close-ups of specific damage, and photos that include a ruler or tape measure for scale.
How long do I have to document water-damaged paper records?
The critical window is 48 hours. Mold growth and permanent paper deterioration begin within 24–48 hours of water exposure, so photograph, inventory, and stabilize wet documents immediately.
Do I need video as well as photos for my claim?
A narrated video walkthrough strengthens your claim significantly. Video captures context, water migration paths, and real-time conditions that still photos cannot fully convey, and it creates a verifiable timestamp record.
Should I clean up before the insurance adjuster visits?
Do not clean up before documenting everything and ideally before your adjuster or a certified restoration professional has seen the damage. Cleaning before documentation removes evidence and can result in a reduced or denied claim.