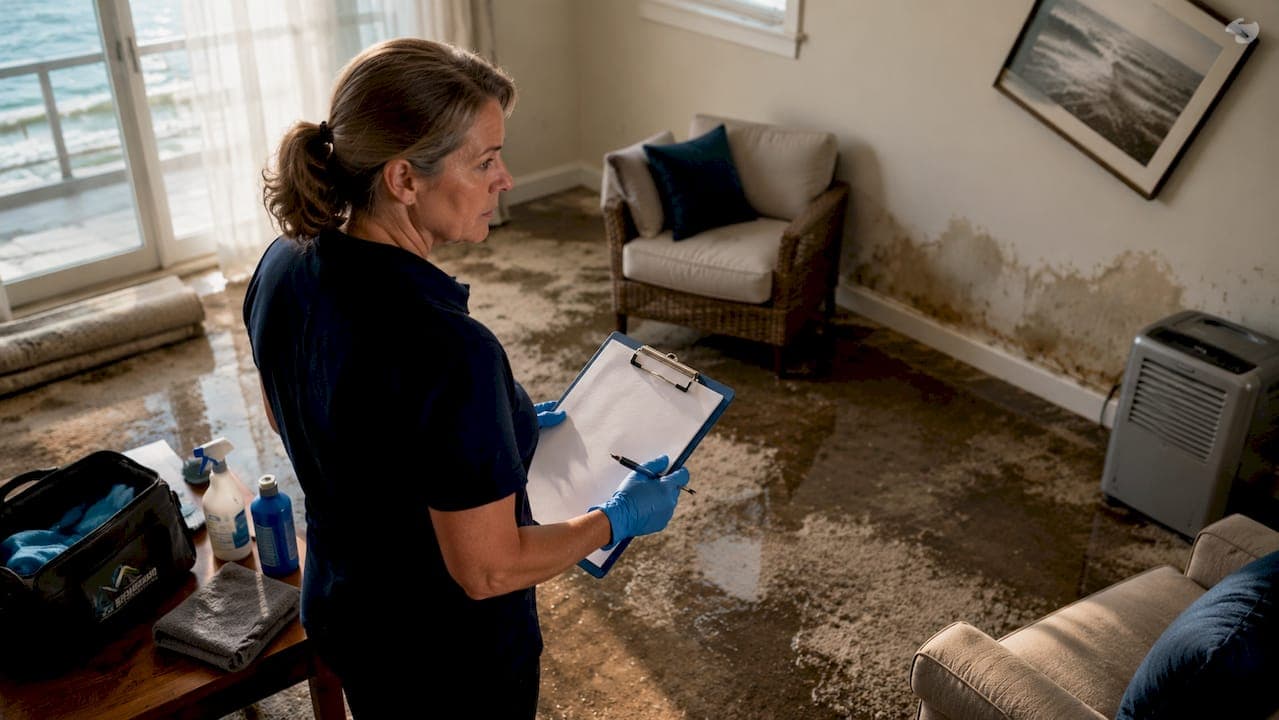
A mold prevention checklist after flooding is a structured set of actions designed to stop mold colonization before it takes hold in your home. Mold can begin growing within 24–48 hours of water exposure, according to EPA guidance. That window is shorter than most homeowners expect. The checklist covers water extraction, surface cleaning, structural drying, and ongoing moisture monitoring. You will also need personal protective equipment (PPE) such as N95 respirators, nitrile gloves, and safety goggles before you enter any flooded area. Acting fast is not optional. It is the single biggest factor that determines whether you face a cleanup or a full mold remediation.
1. What immediate actions should you take within the first 24–48 hours?
Speed is the defining factor in flood recovery. Water damage is progressive, meaning every hour you wait compounds the structural and biological risk. Follow these steps in order.
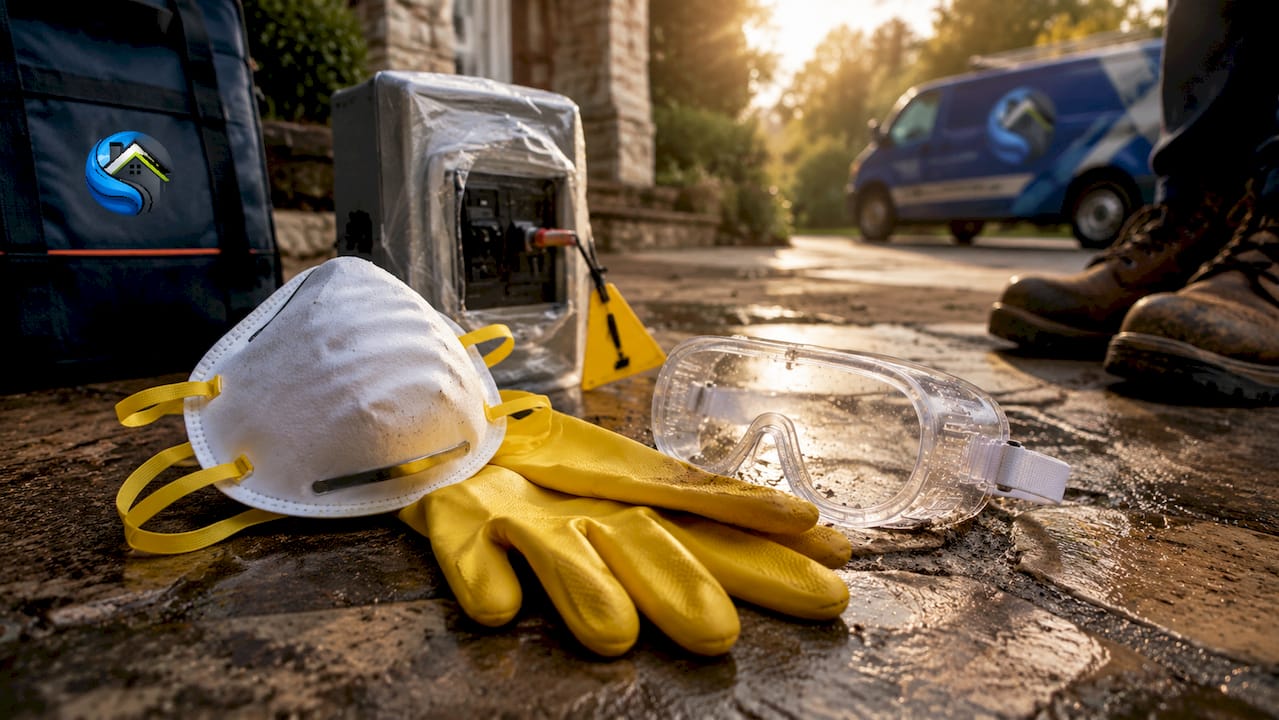
Step 1: Confirm safety before entering. Turn off electricity to any flooded zone at the breaker panel. Verify structural stability before stepping inside. Floodwater can carry sewage, bacteria, and chemicals, so put on your N95 mask, gloves, and goggles before you open the door.
Step 2: Document everything. Photograph and video all damage before moving a single item. This documentation supports insurance claims and tracks the scope of water intrusion. Do not skip this step even when you feel pressure to start cleaning immediately.
Step 3: Extract standing water. Use a submersible pump for large volumes, then follow up with a wet/dry vacuum for residual water. Remove standing water completely before moving to cleaning. Leaving even shallow puddles extends drying time and feeds mold growth.
Step 4: Isolate the flooded zone. Close doors and seal off the affected area from the rest of your home. This limits cross-contamination of mold spores to unaffected rooms. Do not run central HVAC until the area is cleaned and dry.
Step 5: Begin gentle surface cleaning. Scrub hard surfaces with detergent and clean water before applying any disinfectant. Removing organic matter first makes disinfection far more effective.
Pro Tip: Take a short video walkthrough of every room before touching anything. Insurance adjusters consistently approve claims faster when video evidence shows the pre-cleanup state.
2. Which cleaning and disinfecting methods stop mold on different surfaces?
Cleaning and disinfecting are two separate steps. Many homeowners skip straight to bleach, which is a mistake. Bleach cannot penetrate organic debris, so cleaning with detergent and water must come first.
For non-porous surfaces such as concrete, tile, and metal, the recommended bleach solution is 1 cup of household bleach per 1 gallon of water. Apply the solution, allow at least 10 minutes of contact time, then rinse thoroughly. This contact time is what actually kills mold spores. Wiping immediately after application defeats the purpose.
Porous materials require a different approach entirely:
- Drywall and insulation: These materials absorb water deeply and cannot be reliably disinfected. Remove and discard any drywall that was submerged. Attempting to dry it in place almost always leads to hidden mold growth inside the wall cavity.
- Carpet and padding: Flood-soaked carpet padding must be discarded. Carpet can sometimes be saved if it dried within 24–48 hours, but saturated carpet in South Florida's humidity rarely meets that threshold.
- Upholstered furniture and mattresses: Discard these if they were submerged. The foam and fabric hold moisture far too long for effective drying.
- Wood surfaces: Scrub with detergent, rinse, and dry as quickly as possible. Solid hardwood can sometimes be saved. Particleboard and MDF swell and break down and should be removed.
Pro Tip: Do not run fans or open windows during the initial cleaning phase. Running fans before cleaning disperses mold spores throughout your home. Clean first, then ventilate.
Safe disposal matters as much as the cleaning itself. Double-bag contaminated materials in heavy-duty plastic bags before carrying them through unaffected areas of your home. This prevents spore transfer to clean surfaces.
3. How do you dry your home effectively to prevent mold after a flood?
Drying is where most homeowners lose the battle against mold. Surfaces can look and feel dry while moisture persists deep inside walls, subfloors, and structural framing. Moisture meters detect hidden dampness in wall cavities and studs that visual inspection misses entirely. Without one, you may seal up a wall over damp wood and face a mold reappearance weeks later.
The target throughout the drying phase is indoor relative humidity below 50%. A digital hygrometer gives you a real-time reading so you know when you have actually reached that threshold. Check readings every few hours during the first two days.
| Equipment | Purpose | When to use |
|---|---|---|
| Submersible pump | Remove large volumes of standing water | Immediately after entry |
| Wet/dry vacuum | Extract residual water from floors | After pump extraction |
| Industrial dehumidifier | Reduce airborne moisture | After initial cleaning is complete |
| Box fans or air movers | Accelerate surface drying | After cleaning, directed outward |
| Digital hygrometer | Monitor relative humidity | Continuously throughout drying |
| Moisture meter | Detect hidden dampness in walls | Daily checks during drying phase |
To protect furniture during flooding recovery, place aluminum foil squares or plastic blocks under furniture legs. This breaks the moisture wicking path between wet flooring and the furniture itself. Never cover wet furniture with plastic sheeting. Plastic traps moisture underneath and accelerates mold formation rather than preventing it.
Drying a flooded home in South Florida typically takes longer than in drier climates because of ambient humidity. Run dehumidifiers continuously and empty their reservoirs frequently. Check your home drying process with a moisture meter until every reading confirms dryness, not just the surfaces you can see.
4. What are the key signs of mold growth to watch for during drying?
Early detection stops a small mold problem from becoming a large one. The most reliable early warning sign is a musty or earthy odor, which often appears before any visible growth. Mold growth signs also include dark spots in black, green, or brown on walls and ceilings, as well as peeling, bubbling, or discolored paint.
Watch for these indicators throughout the drying process:
- Musty smell in any room, even rooms that appear dry
- Dark spots or staining on drywall, baseboards, or ceiling tiles
- Paint that bubbles, peels, or feels soft to the touch
- Visible white or gray fuzzy growth on wood framing or subflooring
- Condensation on windows or cold pipes that persists after drying begins
- Allergy symptoms or respiratory irritation in occupants
Hidden mold risks inside wall cavities require a moisture meter to detect. A reading above 16% moisture content in wood framing signals active mold risk. If you find readings that high after three or four days of drying, call a certified mold inspector before closing up walls.
Professional mold testing is the right call when visible growth covers more than 10 square feet, when occupants show health symptoms, or when musty odors persist despite confirmed surface dryness. At that point, DIY methods are not sufficient. A certified industrial hygienist can test air quality and identify hidden colonies that visual inspection cannot find.
5. How does mold prevention differ in multi-unit buildings and rentals?
Preventing mold in a multi-unit building or rental property requires coordination that single-family homeowners do not face. Flooding in one unit can saturate shared walls, floors, and ceilings, spreading moisture into neighboring units without any visible sign. This makes collective action the only effective response.
Key steps for renters and property managers:
- Report damage immediately in writing. Renters should notify property management by text or email the same day flooding occurs. Written records establish timelines and protect your legal rights if disputes arise.
- Coordinate drying across units. If the unit below yours flooded, your subfloor may be wet even if your floor looks dry. Property managers must authorize access to adjacent units for moisture testing.
- Address shared HVAC systems. Central air systems in multi-unit buildings can carry mold spores from a contaminated unit to clean ones. Shut down shared HVAC until the affected area is cleaned and dry.
- Document common area damage. Hallways, laundry rooms, and stairwells are often overlooked. Moisture in these spaces feeds mold that eventually spreads into individual units.
- Understand legal responsibilities. In most states, landlords are legally required to address mold caused by structural failures or flooding. Renters are responsible for reporting damage promptly and cooperating with remediation access.
Property managers overseeing multiple affected units should bring in a certified restoration company immediately. Coordinating drying across several units simultaneously requires industrial-grade equipment and a documented drying log for each space.
Key Takeaways
The most effective post-flood mold prevention combines immediate water extraction within 48 hours, surface-specific cleaning protocols, continuous humidity monitoring, and early detection of hidden moisture.
| Point | Details |
|---|---|
| Act within 48 hours | Mold colonization begins within 24–48 hours, making rapid water extraction the top priority. |
| Clean before disinfecting | Remove organic debris with detergent first; bleach solution only works on clean surfaces. |
| Monitor hidden moisture | Use a moisture meter daily to check wall cavities and framing, not just visible surfaces. |
| Protect furniture correctly | Place aluminum foil under furniture legs to break moisture wicking; never cover wet items with plastic. |
| Coordinate in multi-unit buildings | Shared walls and HVAC systems require collective drying and written damage reports from all parties. |
What we have learned from 15,000 flood jobs in South Florida
The most common mistake Dry Rely Water Damage Restoration sees is homeowners who wait. They wait for the rain to stop, wait to call their insurance company, wait to see if things dry on their own. By the time they call us, mold has already colonized the wall cavities and the job has tripled in scope and cost.
The second most common mistake is covering wet furniture with plastic sheeting. Homeowners do this to protect fabric from further damage, but it seals in moisture and creates a perfect mold environment underneath. Aluminum foil under the legs, nothing over the top. That is the correct approach.
The insight that surprises most people is this: surface dryness means almost nothing. A floor can feel bone dry while the subfloor underneath reads 25% moisture content on a meter. We have opened walls in homes that looked completely dry to find active mold colonies growing on studs. Technology, specifically moisture meters and thermal imaging, is the only way to confirm actual dryness.
DIY efforts are appropriate for small, contained flooding events with clean water. Once floodwater contains sewage, once the affected area exceeds a single room, or once you find visible mold growth, the job requires professional equipment and certified technicians. Knowing that line and respecting it protects both your health and your home.
— Dry Rely Water Damage Restoration
Dry Rely Water Damage Restoration: rapid flood response in South Florida
Flooding does not wait for business hours, and neither does Dry Rely Water Damage Restoration. The team guarantees certified technicians on-site within 60 minutes anywhere in South Florida, with industrial water extraction equipment and thermal imaging technology ready to deploy immediately.

Dry Rely Water Damage Restoration has restored over 15,000 properties across South Florida, with a 4.9-star rating from more than 200 verified reviews. The team handles professional water extraction and complete mold remediation services, and provides detailed damage documentation to support your insurance claim from day one. If you are dealing with flooding right now, call Dry Rely Water Damage Restoration for an immediate assessment.
FAQ
How fast does mold grow after a flood?
Mold begins colonizing within 24–48 hours of water exposure. Starting water extraction and drying within that window is the most effective way to prevent growth.
What PPE do I need for flood cleanup?
Wear an N95 respirator, nitrile gloves, and safety goggles at minimum. Floodwater frequently contains sewage, bacteria, and chemical contaminants that pose serious health risks without proper protection.
Can I use bleach directly on mold after flooding?
Bleach works only on non-porous surfaces and only after you have scrubbed away organic debris with detergent and water first. The correct bleach ratio is 1 cup per 1 gallon of water, with at least 10 minutes of contact time before rinsing.
How do I know if my walls are truly dry after a flood?
Use a moisture meter to check wall framing and cavities. A reading above 16% moisture content in wood indicates active mold risk. Visual inspection alone is not reliable for confirming dryness.
When should I call a professional instead of handling mold myself?
Call a certified restoration company when visible mold covers more than 10 square feet, when floodwater contained sewage, or when occupants experience respiratory symptoms. These conditions exceed safe DIY limits.